A great way to gain followers on your SmugMug site is to offer a free newsletter. This tool helps keep your customers informed about promotions, deals, and your latest image posts.
This tutorial consists of two main sections. The first covers creating an account on Mailchimp, an excellent newsletter service. The second explains how to embed your signup form on your SmugMug site.
Mailchimp
For the first part of the tutorial, we will start with Mailchimp – this is one of my favorite services that provides a very easy way to create beautiful-looking newsletters without using any code (drag and drop editor). You will need an account on Mailchimp to store all the email addresses of your subscribers. They offer a free subscription as well (Send 12,000 emails to 2,000 subscribers for free. No contracts, and no credit card required. It’s free forever).
Creating Audience
Great! Now that your Mailchimp account is active, it’s time to create your first mailing list audience. This list will store all the email addresses of your subscribers. To create a new audience, follow these steps:
- Click Audience, then click Audience dashboard.
- Click the Manage Audience drop-down and choose View audiences. If you only have one audience, click the Manage Audience drop-down and choose View audiences.
- Click Create Audience.
- In the confirmation box, click Create Audience.
- Enter the details in the fields provided.
- Review the Contact information for this audience, and edit if needed.
- In the Form Settings section, choose the opt-in method for your audience.Check the box next to Enable double opt-in to send an opt-in confirmation email when someone subscribes to your marketing. Or, leave it unchecked to use single opt-in and add subscribed contacts to your audience right away. Check the box next to Enable GDPR fields to collect consent and explain to contacts how and why you’re using their data.
- In the Notifications section, review the email address that you’d like to receive notifications about your audience, and edit if needed.
- Select your notification preferences.
Free Mailchimp account limitations
Free Mailchimp accounts allow you to have only one audience list. If you need more than one, you’ll have to upgrade. Keep in mind that when you create a new Mailchimp account, the system automatically generates one active audience for you.
Creating your first signup form
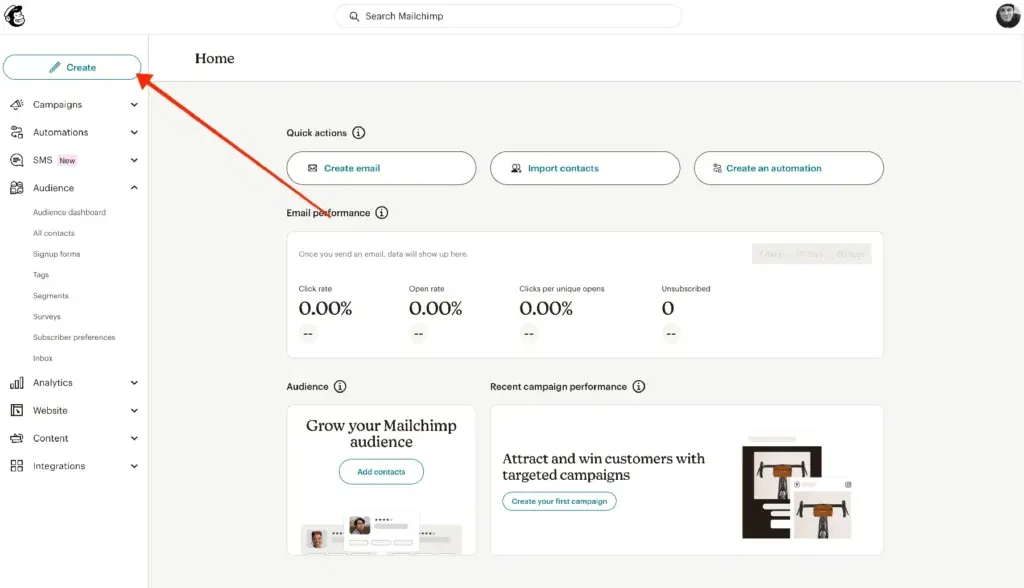
Click the CREATE button on Mailchimp:
Choose SIGNUP FORM
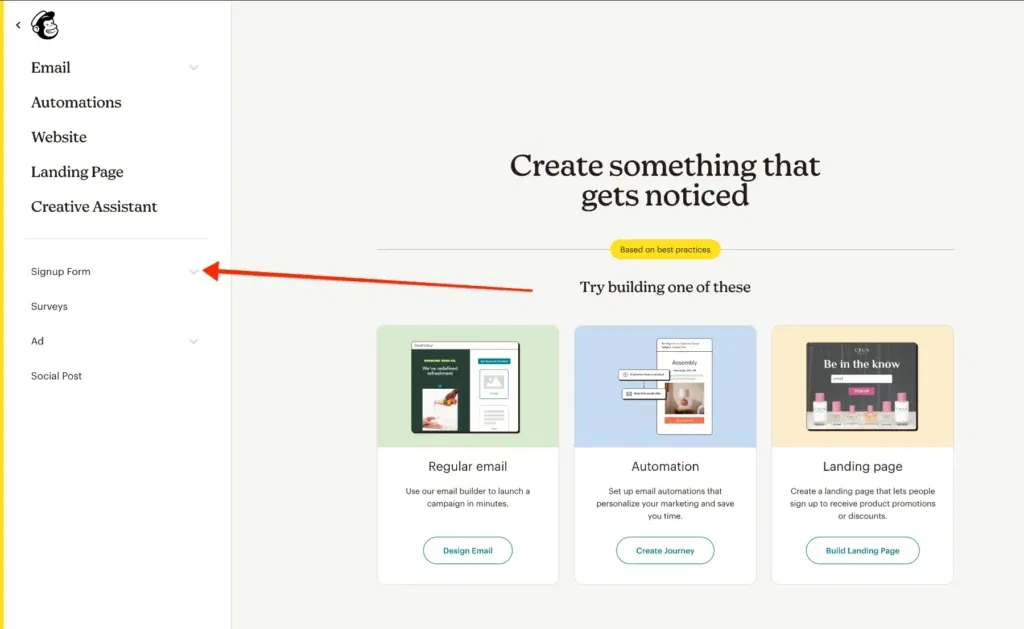
And from the dropdown menu choose EMBEDDED FORM.
Give your embedded form a name — I’ll call mine “SmugMug Tutorial Form”—and from the dropdown menu, choose your Audience (where the collected email addresses will be stored).
Form settings
Form Fields – here you can add additional fields if you would like to collect more information from your visitors than just the email address. In my case I will leave the only one form.
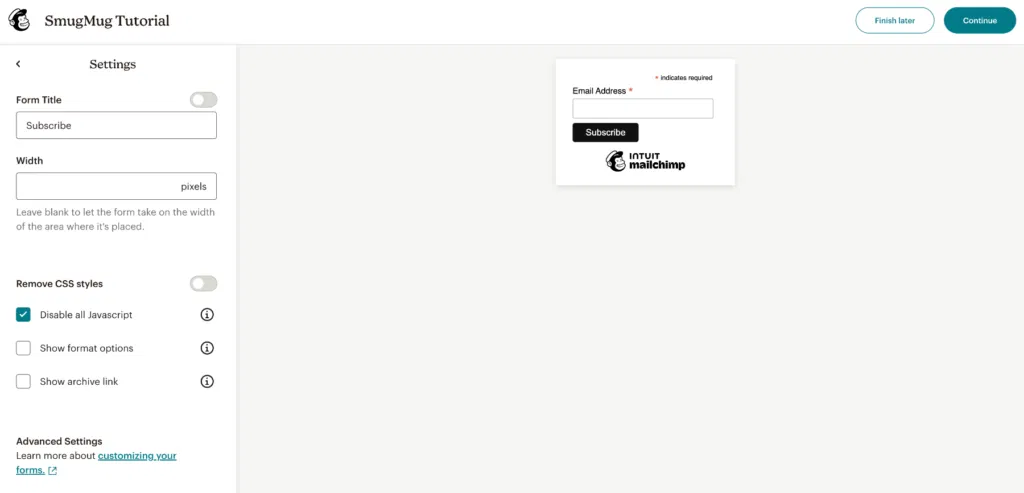
Settings – I recommend that you turn OFF the form title for a cleaner look. Width – please delete the default 600px value – this will ensure that your form is taking the width of the HTML container that you setup on your SmugMug account.
Disable all JAVASCRIPT – since SmugMug does not support JavaScript it is important that this option is selected:
Copying the form code
Click the CONTINUE button and click the COPY code.
SmugMug – adding Mailchimp code to your SmugMug page
Choose a page on your SmugMug account and open it in Customization mode by clicking “CUSTOMIZE DESIGN” at the top of your SmugMug page.
Drag an HTML content block to your chosen page. Then, paste the copied Mailchimp code into the HTML tab of this content block.
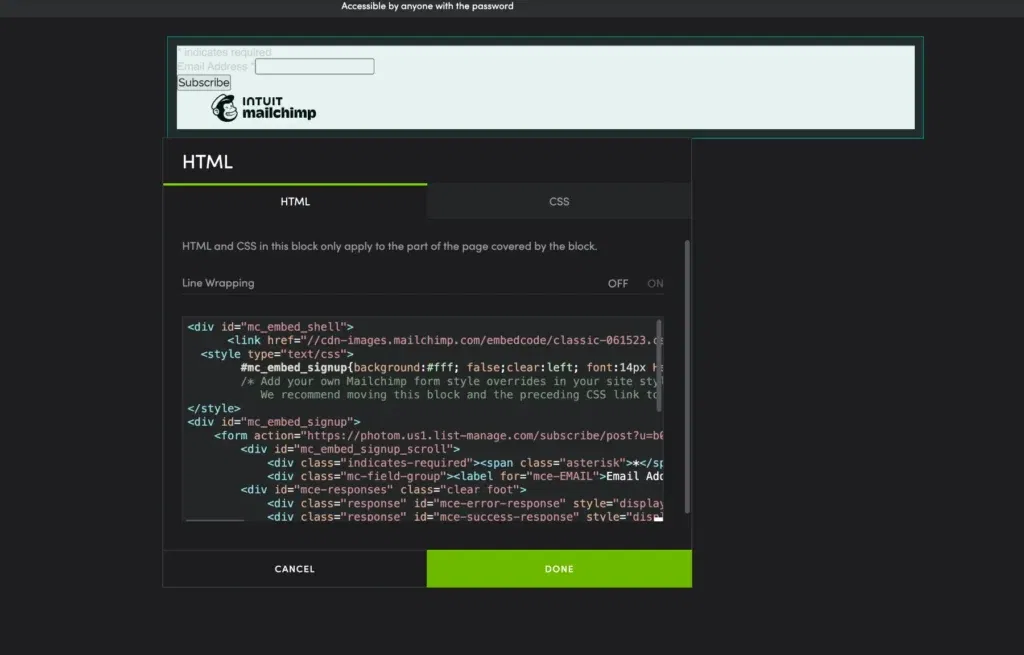
But my form looks bad 🤮
The form may look unappealing at first, but don’t worry—we can fix that by adding CSS styling to our HTML content block. You won’t need to write your own CSS code. The necessary code already exists; you’ll just need to extract it before applying it to the HTML content block.
Extracting CSS code
When examining the HTML code you’ve just copied from Mailchimp, you’ll notice a reference to a style hyperlink at the beginning. Here’s how it appears in my form:
<div id="mc_embed_shell">
      <link href="//cdn-images.mailchimp.com/embedcode/classic-061523.css" rel="stylesheet" type="text/css">
  <style type="text/css">
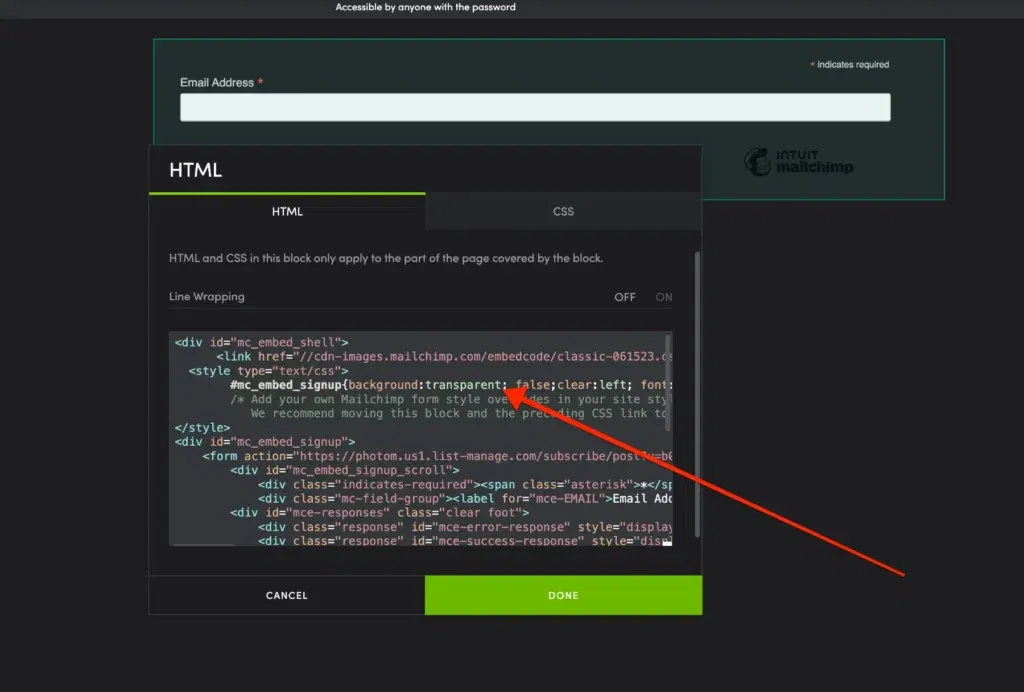
        #mc_embed_signup{background:#fff; false;clear:left; font:14px Helvetica,Arial,sans-serif; width: px;}
        /* Add your own Mailchimp form style overrides in your site stylesheet or in this style block.
           We recommend moving this block and the preceding CSS link to the HEAD of your HTML file. */
</style>
I want you to copy that link – in my case I have copied my link like this:
cdn-images.mailchimp.com/embedcode/classic-061523.cssOpen a new tab in your web browser and paste the copied link into the address bar. This will display numerous lines of CSS code. Copy all of this code and paste it into the CSS tab of the HTML content block on your SmugMug page.
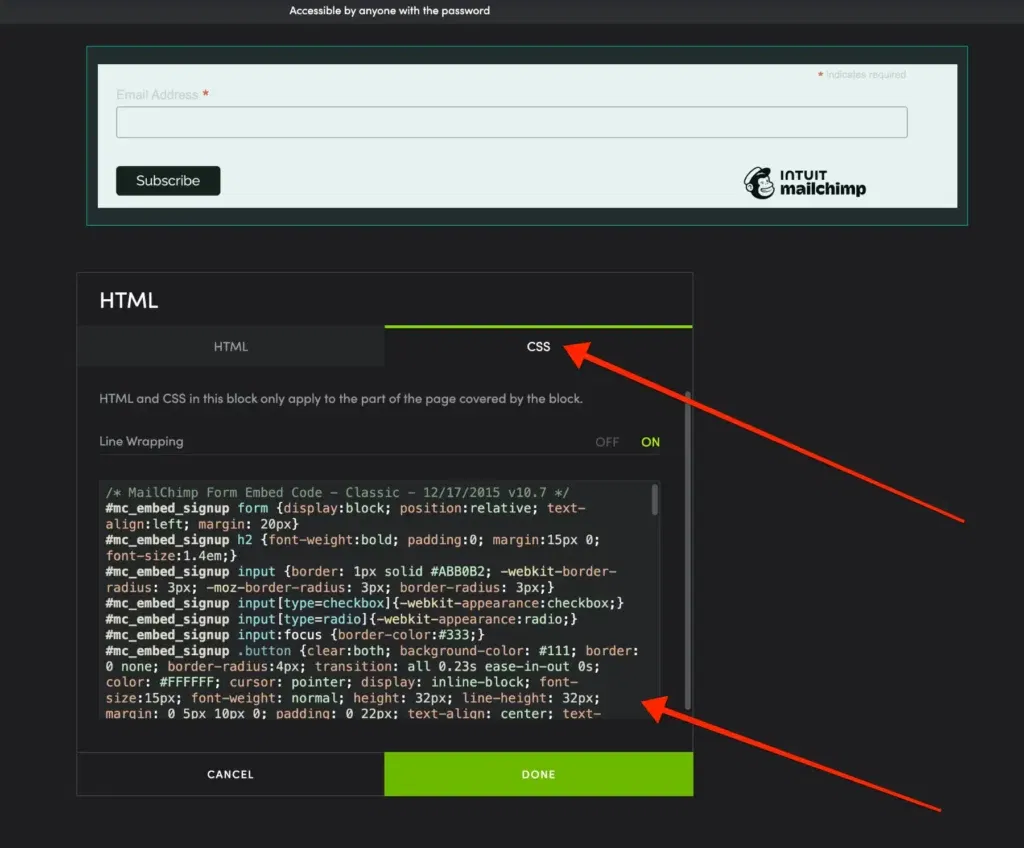
Final tweaks
Since I have a dark website, I need to adjust some parameters in the HTML code to remove the white background. Interestingly, the form’s background is controlled in the HTML tab, not the CSS tab. To make this change, open the HTML tab and modify the background:#fff to a color of your choice. In my case, I simply used transparent to adopt my website’s background color.
