How to Install the SmugMug Lightroom Classic Plugin on Mac
Step-by-step guide to manually install the SmugMug publish service plugin in Adobe Lightroom Classic on macOS.
The SmugMug Lightroom Classic plugin lets you publish photos directly from Lightroom to your SmugMug galleries. While you can install it through Adobe Exchange, sometimes manual installation is necessary when the automatic method doesn't work.
Prerequisites
- Adobe Lightroom Classic installed on your Mac
- A SmugMug account
- macOS (this guide uses Monterey, but works on other versions)
Download the plugin
Download the latest SmugMug plugin directly from SmugMug:
Download SmugMug Lightroom Plugin
The file will download to your Downloads folder as a .zip file.
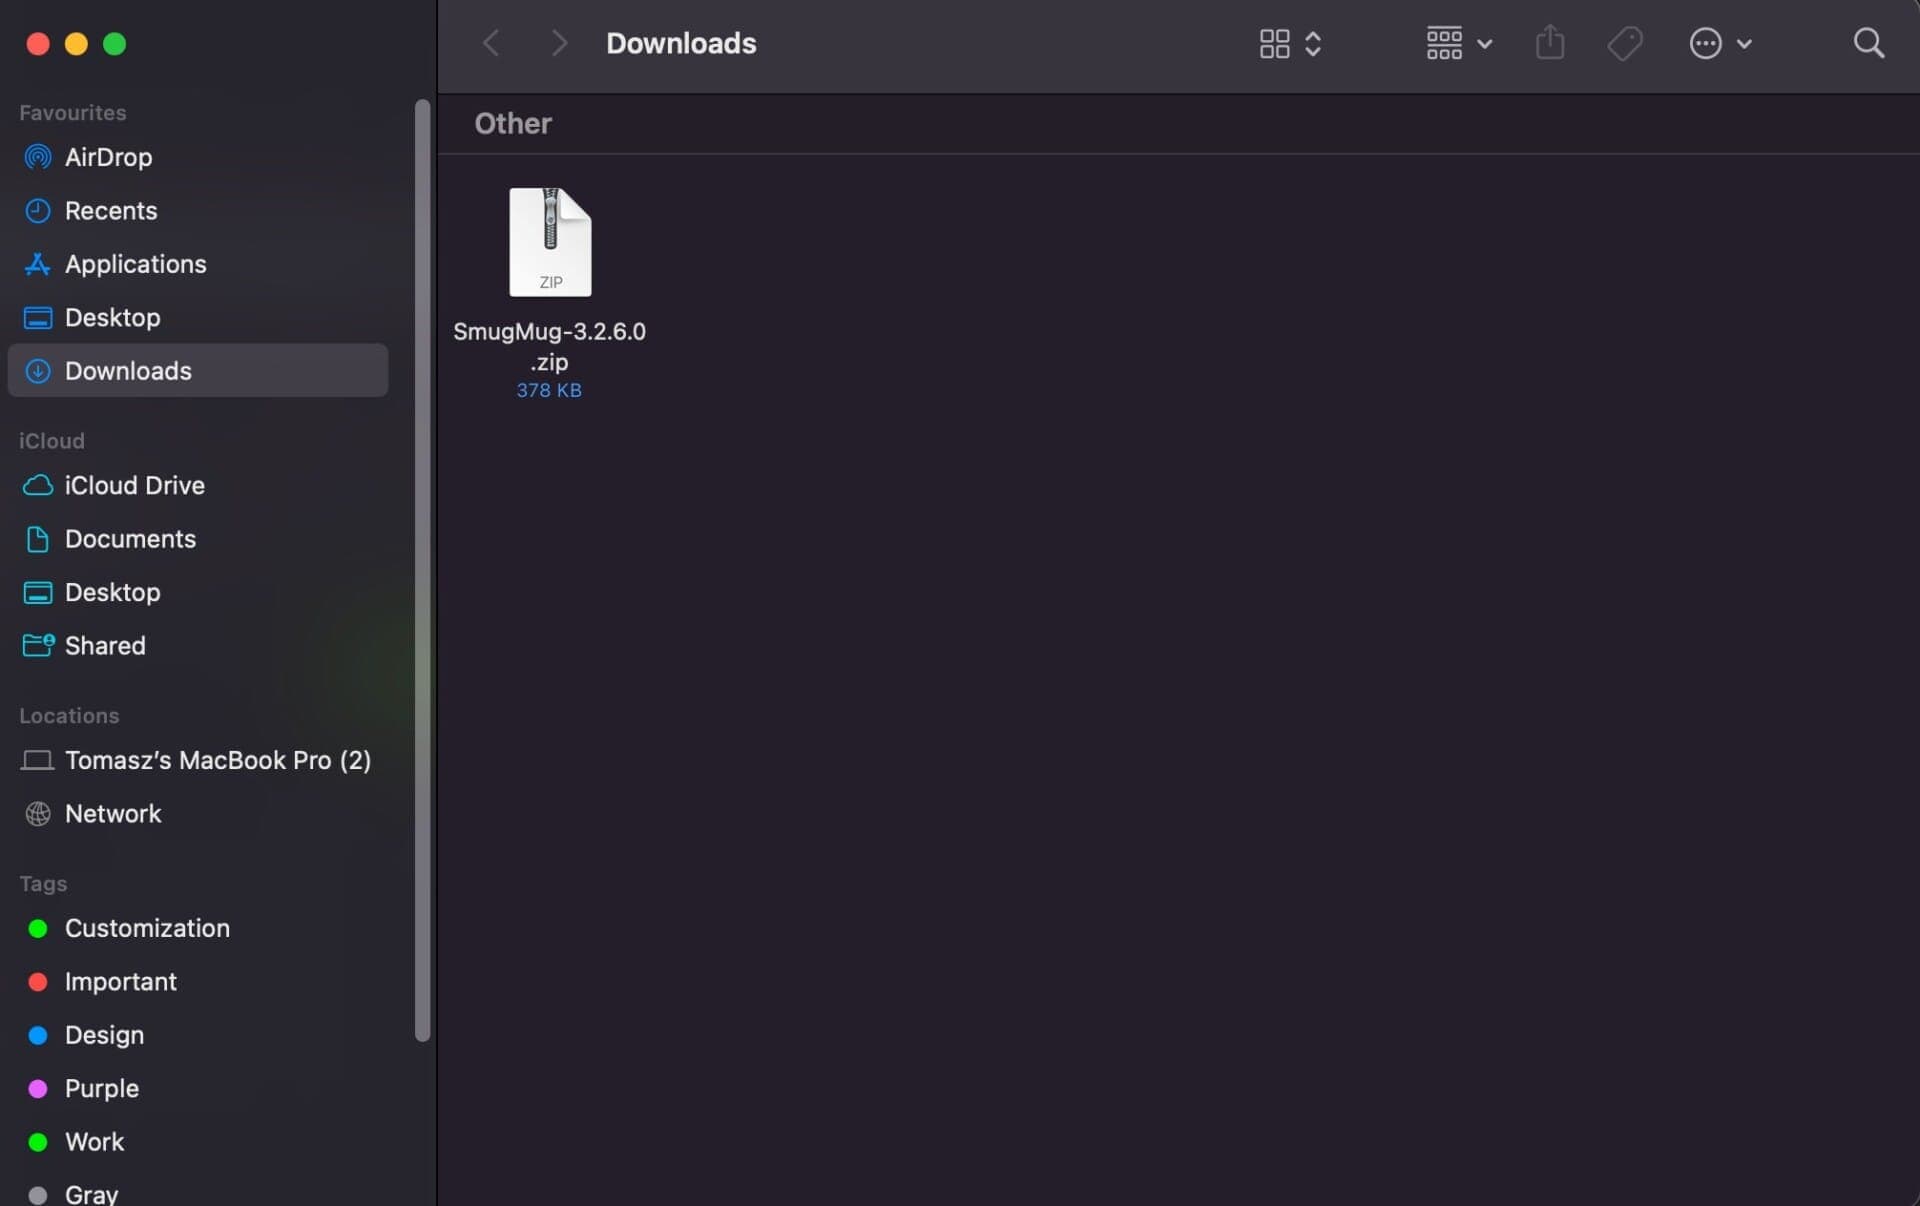
Unzip the plugin
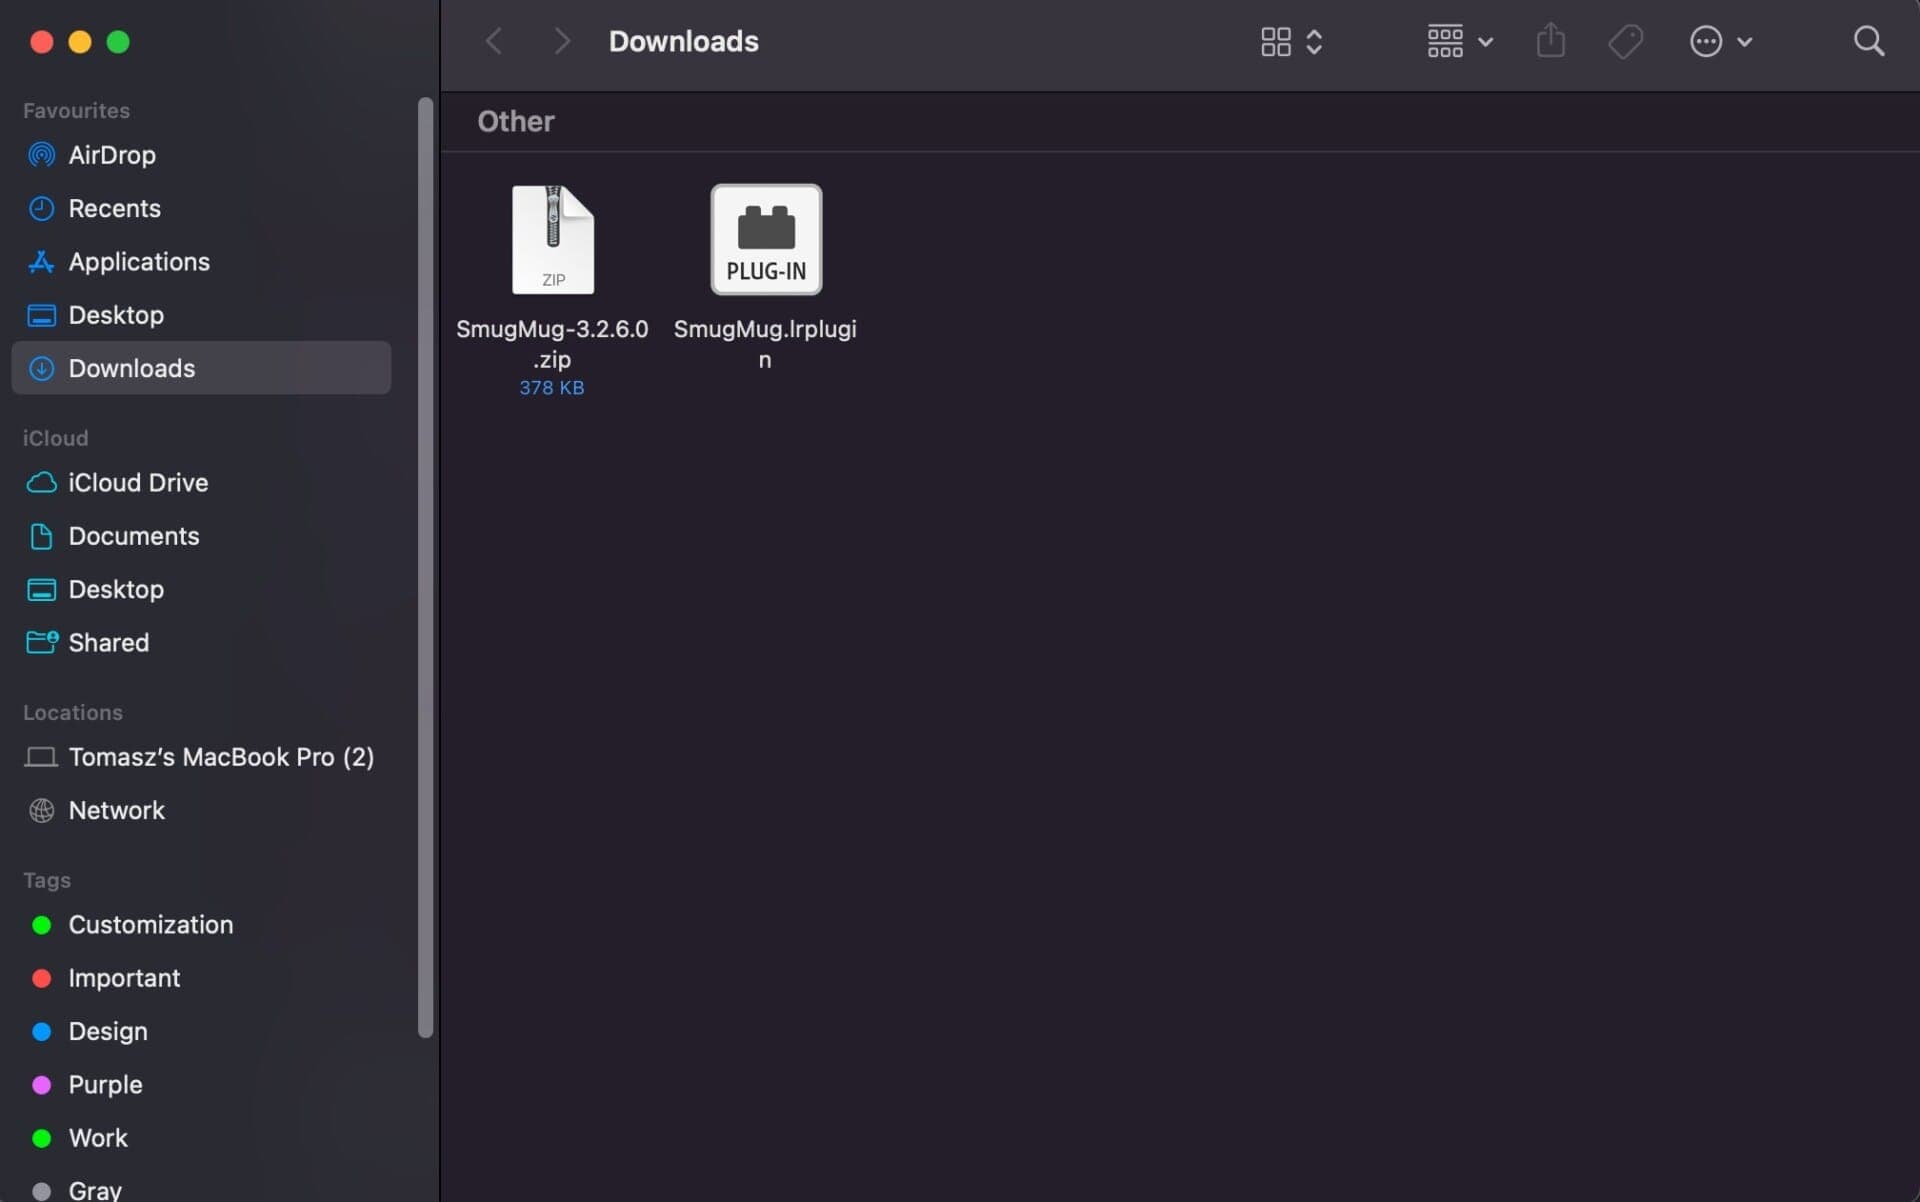
Double-click the downloaded zip file to extract it. You'll see a folder with the SmugMug plugin:
Navigate to the Lightroom folder
The plugin needs to go in Lightroom's Modules folder. This folder is often hidden, so use this method to access it:
- Open Finder
- Click Go in the menu bar
- Select Go to Folder...

- Type this path and press Enter:
~/Library/Application Support/Adobe/LightroomYou'll see the Lightroom support folder:
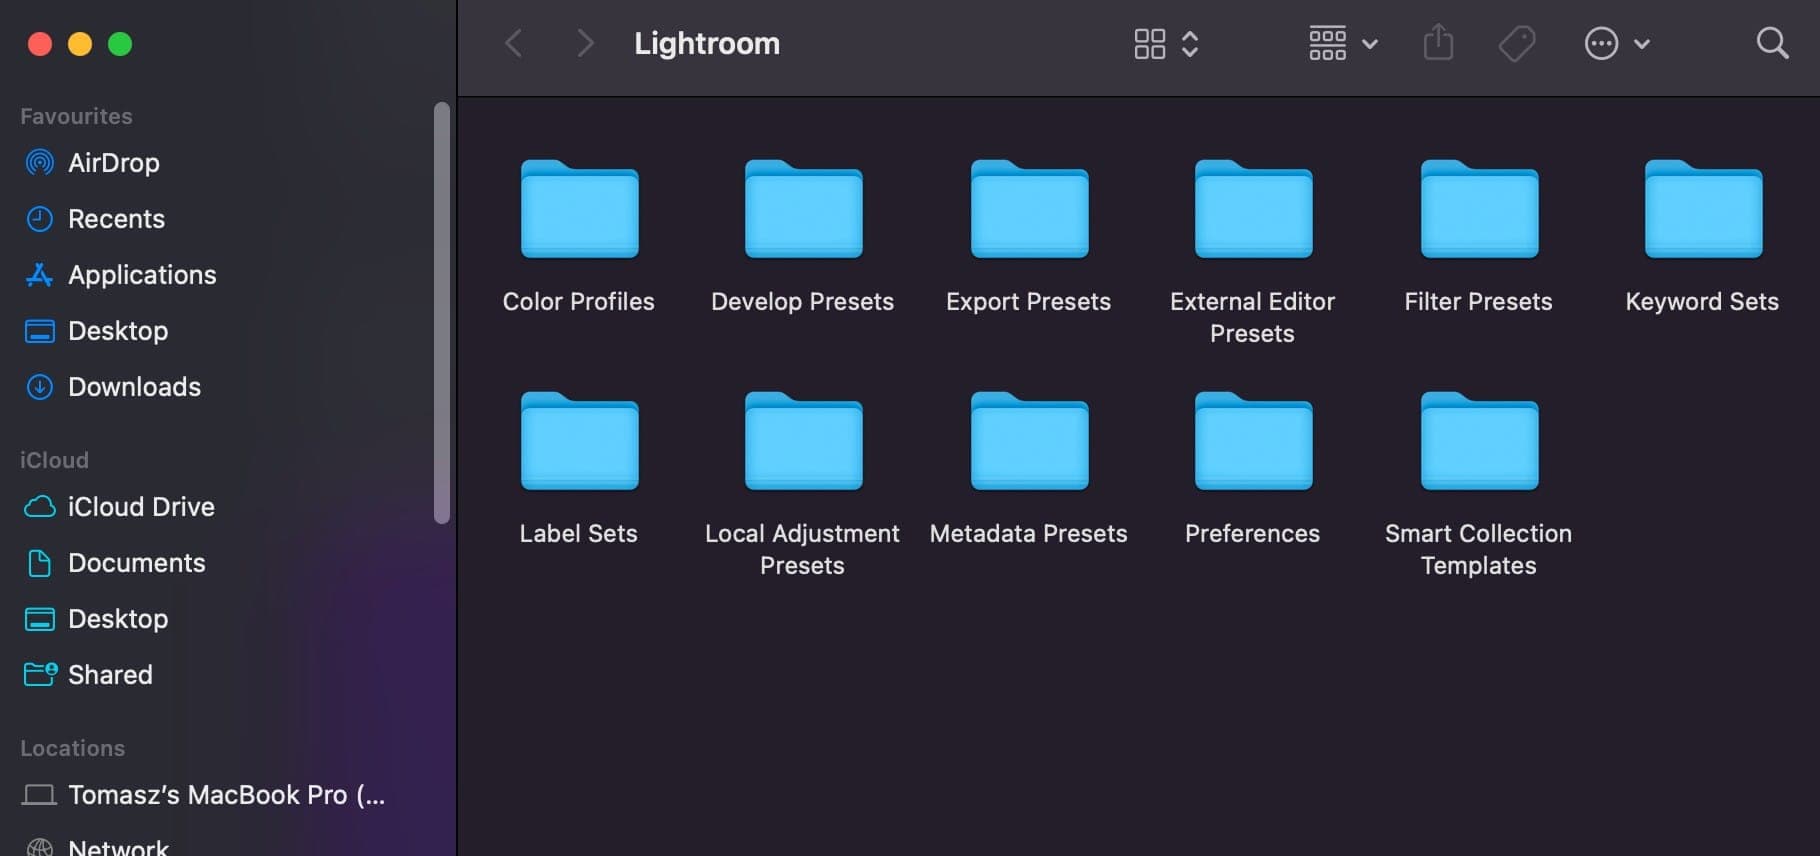
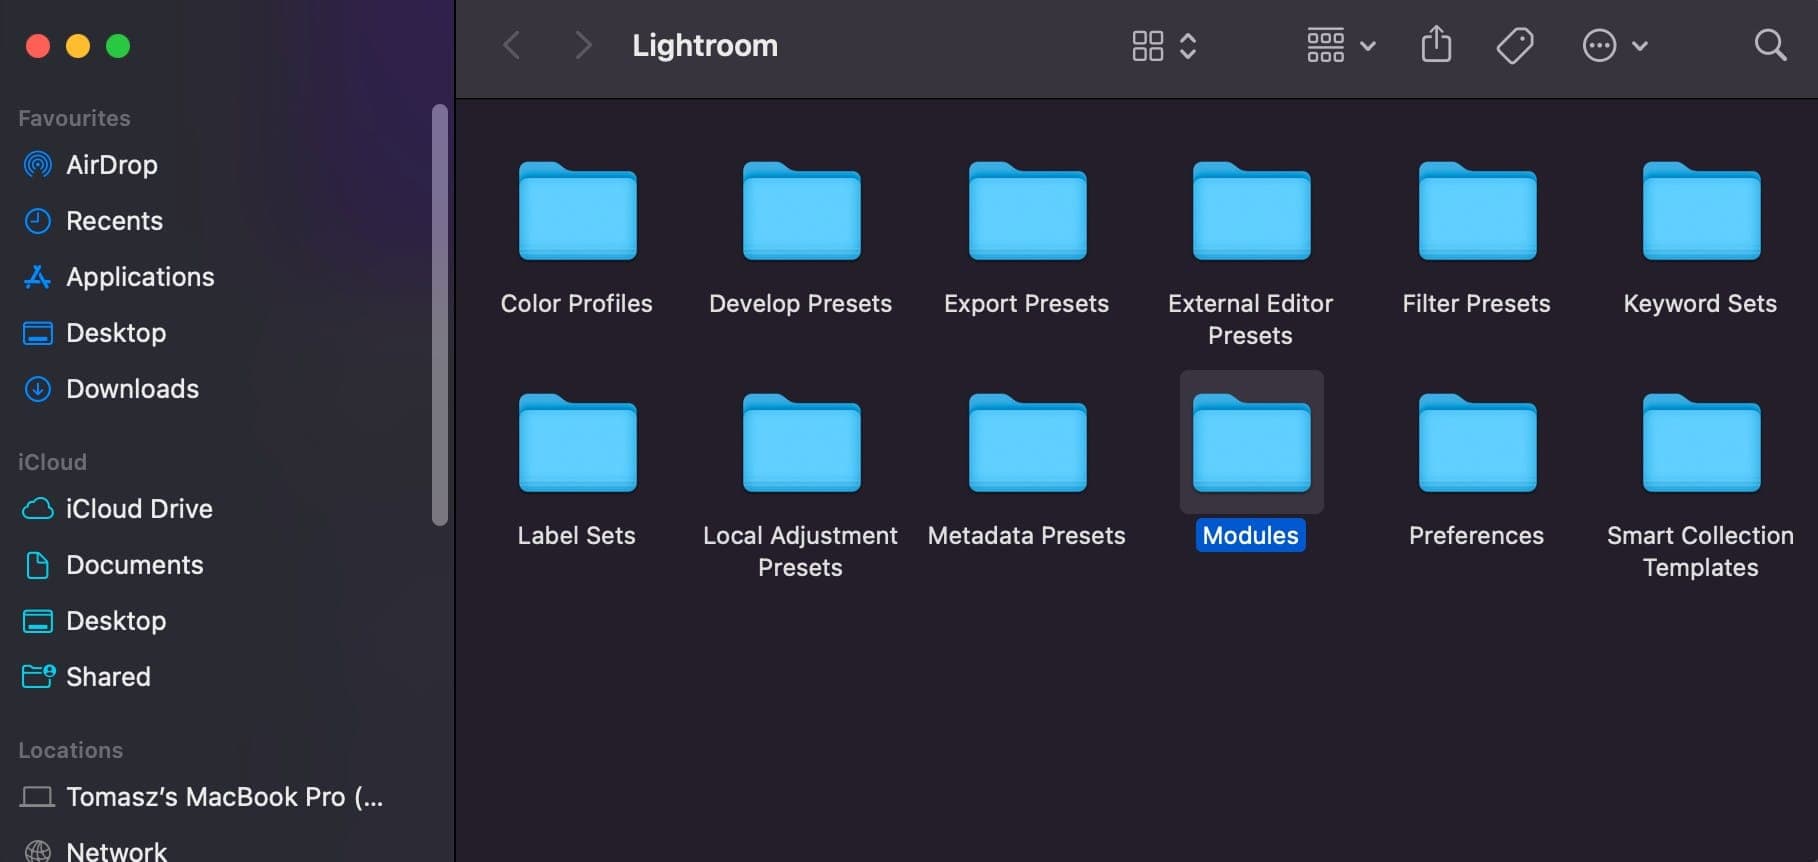
Create the Modules folder (if needed)
Look for a folder named Modules. If it doesn't exist:
- Right-click in the empty space
- Select New Folder
- Name it exactly:
Modules
Install the plugin
Drag the unzipped SmugMug plugin folder from your Downloads into the Modules folder:
Verify installation
- Close all Finder windows
- Open Adobe Lightroom Classic
- Go to the Library module
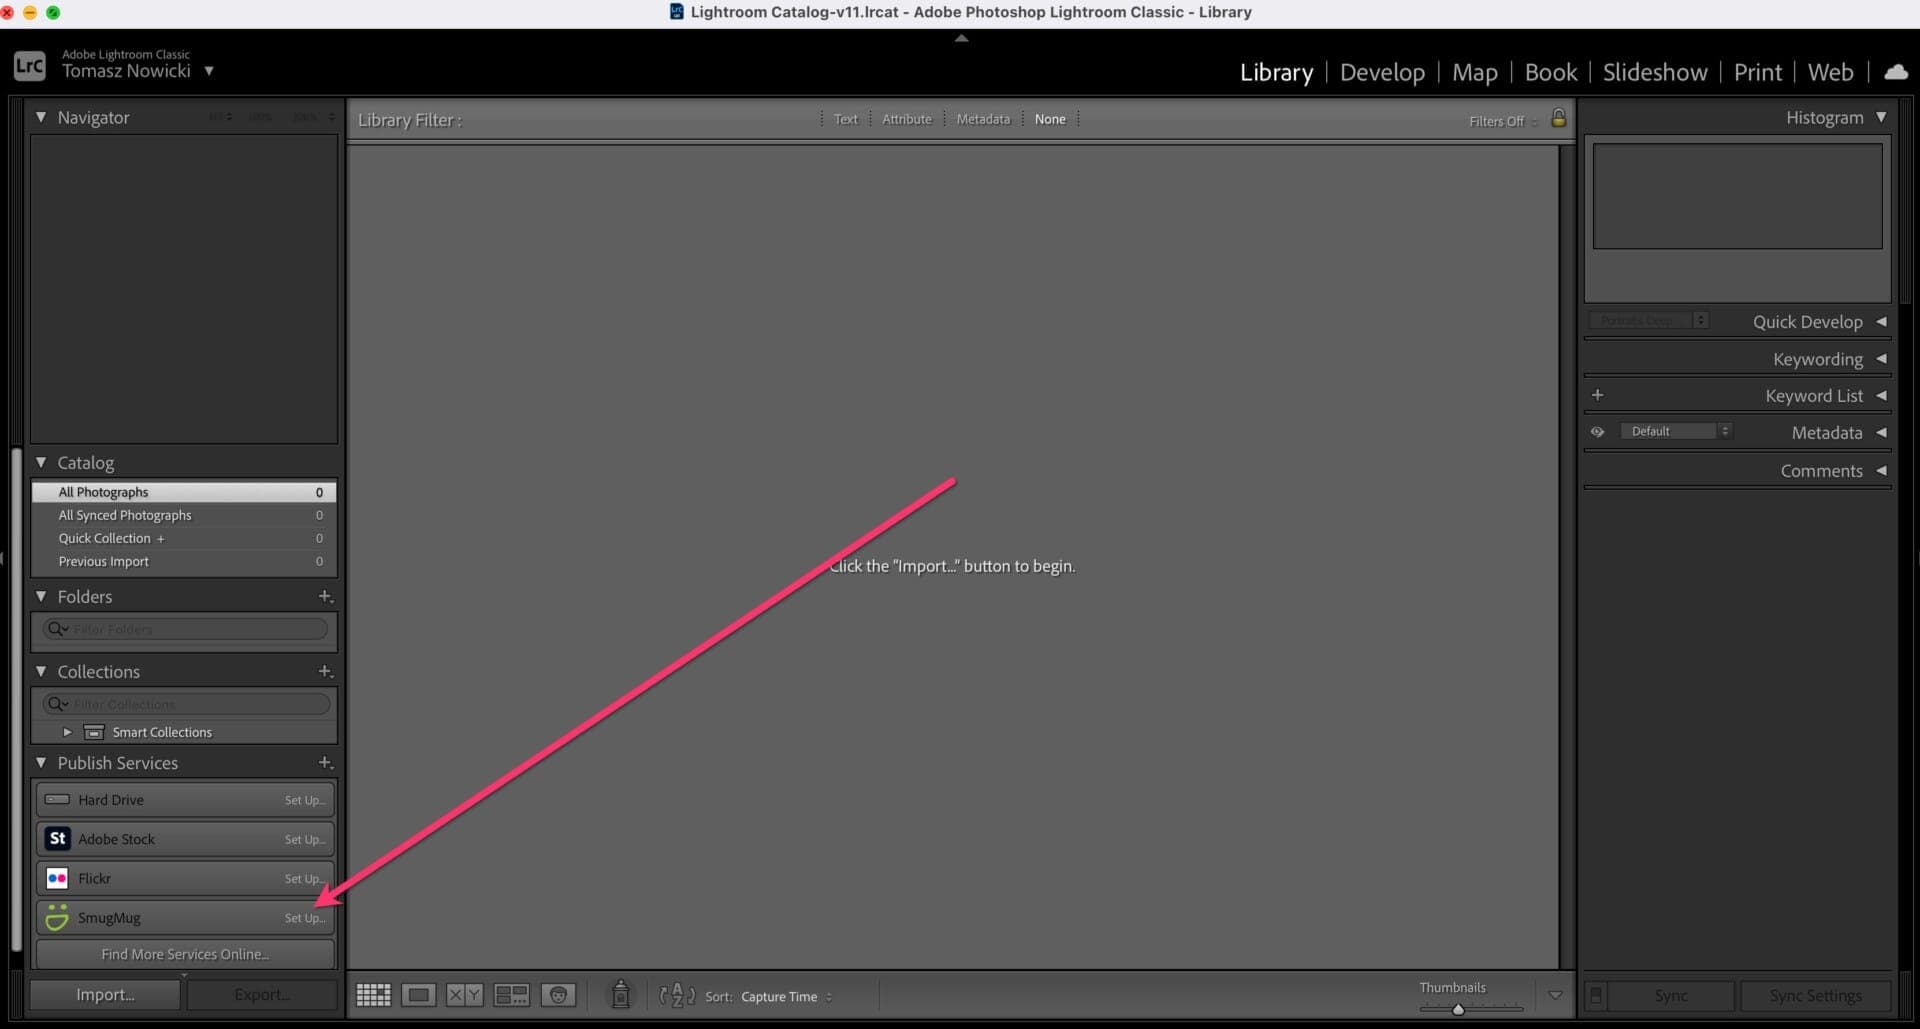
- Look at the bottom-left panel for Publish Services
- You should see SmugMug listed
Setting up the connection
After installation, you need to authorize Lightroom to access your SmugMug account:
- Click Set Up... next to SmugMug in Publish Services
- Click Log In to SmugMug
- Enter your SmugMug credentials in the browser window that opens
- Authorize the connection
- Return to Lightroom and click Done
Using the plugin
Once connected, you can:
- Create publish collections that map to SmugMug galleries
- Drag photos to collections to queue them for upload
- Click Publish to upload queued photos
- Republish updated photos automatically
Changes you make to photos in Lightroom (metadata, edits) can be synced to SmugMug by republishing. The plugin tracks which photos need updating.
Troubleshooting
Plugin doesn't appear in Lightroom
- Verify the plugin is in the correct Modules folder
- Make sure you extracted the zip file (don't put the zip in Modules)
- Restart Lightroom completely
"Plugin is damaged" error
- Re-download the plugin from SmugMug
- Check your macOS security settings under System Preferences → Security & Privacy
- You may need to allow the plugin to run
Connection fails
- Ensure you're logged into the correct SmugMug account
- Try disconnecting and reconnecting
- Check your internet connection